Not unlike Moses himself, the Andria Theatre’s production of The Prince of Egypt takes a while to find its footing and has to deal with flaws and missteps along the way, but it still ultimately becomes a moving and inspirational piece of theatre.
The first few scenes showcase both the production’s highlights and its flaws. The opening number “Deliver Us” was robbed of a lot of its impact by subpar sound, which made the voices of the actors in the chorus unbalanced and hard to understand. But when the dancers took center stage, representing the river that led the baby Moses to the palace, the choreography was well-coordinated and beautiful (I was reminded of the ballet sequences in the Andria’s past production of Anastasia, which were also a highlight). Some of the actors, too, felt unsteady at the show’s start. Various actors seemed to have difficulty projecting, and Charles Grussing as Pharoah Seti felt less like an imposing father figure than a doddering old man.
However, from the first time we see them Justin Roob and Ben Dyrhaug as Moses and Ramses are both wonderful. They have great sibling chemistry and play off each other well, which gives the show’s drama a strong base to build on. Roob also does very well with Moses’s solo numbers, embodying songs like “Footprints in the Sand” with real soul. Dyrhaug’s best moments are in the second act when he finds himself being torn between his duties as Pharoah and his desire to do right by his adopted brother, and the way their relationship concludes is truly heartening in a way people more familiar with the movie (or other portrayals of the Exodus narrative) might not expect.
The show as a wbole fares better in the second act than the first, and even the first act takes a while to truly become engaging. As good as Roob and Dyrhaug were, and as visually appealing as the choreography and use of projections were at setting the scene, I just didn’t feel drawn in. But when Moses left Egypt to enter the wilderness, everything changed. He’s welcomed in by the tribe of Midianites and their high priest Jetbro (David Christman) through the song “Through Heaven’s Eyes”, and with that number’s energy, spirit, and heart the entire show opened up to me. Like the character of Moses himself, I was finally swept up and found myself in a world that felt beautiful and welcoming. From then on, the show kicked into high gear and I had no trouble losing myself in the production. Director Ben Klipfel seems to really find his footing when handling the confrontations between Moses and Ramses, and his portrayal of the plagues is also powerfully done. You could hear a pin drop in the audience when the deaths of the firstborn are dramatized, and it leads to an unexpectedly heartbreaking solo “Heartless” from Ramses’ wife Nefertari (Amelia Meier).
Visually, the production is very well executed. The dance choreography by Nicole Hitch is strong throughout, which for this show is very important because in addition to the group numbers like “Simcha” and “When You Believe”, the dramatization of things like Moses’s trip through the desert, the burning bush, and the parting of the Red Sea are all reliajt on skilled dancers. They’re supplemented here with projections (made by the Fargo-based company Livewire Entertainment with Leah Drexler serving as video producer) that help to set the scene and enhance the drama, but thankfully do not overwhelm it by calling attention to themselves. Sometimes the contrast felt a bit off – the image was maybe a bit lighter than it should have been – but it still worked. Those technical flaws were an issue throughout. As mentioned earlier, the sound balance wasn’t great, and there were a few moments when the actors’ mics weren’t turned on in time so their lines started out muffled.
Despite some of my misgivings early on, The Prince of Egypt still ended up being a moving and thought-provoking show, with strong performances at its center from the lead actors and musical and dance sequences that create moments of true beauty.
THE PRINCE OF EGYPT plays at the Andria Theatre through October 10th
Larissa Fasthorse is known today as a world-renowned playwright, with noteworthy works such as The Thanksgiving Play (recently seen on Broadway), a revised script for the current tour of Peter Pan, and For the People (which was co-written with Ty Dafoe and premiered at the Guthrie in 2023), but she got started as a ballerina. In her new autobiographical show, Fancy Dancer, Fasthorse tells her own story of how chasing her dream of working in ballet helped her find herself, and it’s an exhilarating and moving experience.
Lara (as she’s known within the play) tells of how a difficult early childhood left her with a deep sense of ambivalence about her identity – her white mother abandoned the family early in her life, and when her Lakota father brought her to his reservation in South Dakota to raise in practice this resulted in her being sent around from house to house of different family members and friends, leaving her without a sense of stability until a white couple from the nearby town offered to adopt her. They then moved to a mostly white town, and Lara began to feel more isolated until she found refuge in an unexpected place: Her family enrolled her in ballet courses as physical therapy for issues with her legs, and while initially reluctant she eventually embraces it, especially after learning about Maria Tallchief, a half-Osage woman who became the top ballerina in the country. Lara is also inspired by the Fancy Dance at the Lakota powwows her parents bring her to; if she can achieve greatness through dance, maybe she can become welcome in the community she had always felt detached from.
Of course, becoming a professional in ballet comes with its own challenges. Not only is the dance itself physically and emotionally grueling, Lara is also subject to all manner of cruelty and bullying – and not just from the other students. Fasthorse portrays this with devastating vulnerability, but despite the difficulties faced by Lara along the way, this is no parade of misery. There are always moments of humor, hope, and joy; the things Lara is able to hang on to as she pushed forward in pursuit of her dream. One particularly touching moment is when she describes an unexpected reunion with the Lakota women who helped raise her on the reservation. Lara is so moved and energized by this that she becomes inspired to do a Fancy Dance of her down, a sequence that is one of the highlights of the show.
Fasthorse, along with director Chay Yew and choreographers Price Suddarth and Maxine Alex give the show a pace that seems attuned to Lara’s emotional state. When she’s at her lowest the play slows down, in moments of panic and devastation it moves to a breakneck pace, and when she feels joy the whole theatre feels enlivened (the dynamic lighting effects by Geoff Korf and projections designed by Caite Hevner and Ann Slote also do an excellent job of setting the mood). This is a show that runs 90 minutes with no intermission, and it flies by.
This show was co-commissioned by the Children’s Theatre Company in Minneapolis and its premiere in Washington was co-produced by the Seattle Children’s Theatre, and it’s easy to understand why: this is an excellent show for schools and families to bring their children to. Youth who share similar feelings of ambivalence about who they are will find themselves inspired by Fasthorse’s journey, and the themes of working towards your dreams and dealing with bullies along the way can be understood by anyone. It’s a perfect example of a story that is universal in its specificity.
Fancy Dancer is emotionally resonant and skillfully portrayed. It shows that both within her life as well as within the show itself, with the right people supporting her, one woman’s journey can become an epic story of triumph, one that could inspire many more stories of triumph to come.
FANCY DANCER plays at the History Theatre through October 4.
Eddie Cantor’s 1935 song “Merrily We Roll Along” (later immortalized as the Looney Tunes theme) is about a couple who stick together through hardship and poverty because they believe in each other and what they do. Stephen Sonheim and George Furth’s 1981 musical of the same title borrows the title (but not the song) to deeply ironic effect, as by the time the musical starts all of the idealism and joy it represents have long since wasted away, and despite how the main characters’ wealth means poverty is no longer an issue, all of the hardship remains. The challenge of material like this is to keep the sense of bitter irony that runs throughout the narrative from becoming overwhelming. This new production from Lyric Arts, directed by Scott Ford, never truly loses the show’s bitter streak, but smooths the edges by showing us not just what has happened, but also what might have happened, and why the core friendship at the musical’s center meant so much.
George Furth’s book tells, in reverse chronological order, the story of a composer’s rise from poverty to the height of Hollywood, and how he lost everything he loved along the way. Frank (Brendan Veerman) begins at the top of the world, the Producer of a hit movie. But even at the party he holds in celebration it’s clear all of his success is a facade. As the show goes back in time we see how it all fell apart, with each scene giving us a clue about the loss we’re about to witness. Frank was dear friends with his composing partner Charley (Noah Hynick) and their fellow writer Mary (Maureen O’Malley), with the three of them bonding as they all started out with nothing, and in classic showbiz story fashion their friendships become compromised when Frank’s ambition and desire to chase money supplants his artistic integrity. Other characters who weave in and out of Frank’s orbit include various wives, lovers, Producers, etc. but the heart of the story is always in the bond between him, Charley, and Mary (or more accurately, him and Charley – as Mary, Maureen O’Malley unfortunately has little to do during the runtime but quietly pine for Frank). Noah Hynick’s performance is a highlight of the show, filled with energy and humor. His performance of “Franklin Shepard, Inc” in particular shows early on that he’s a force to be reckoned with. Hyner is able to capture the character’s anger as well as his warmth beautifully, and he enlivens the show whenever he’s on stage. His earnestness makes a great contrast to Brendan Veerman’s Frank, who we first see as a Hollywood phony and only gradually are able to see Veerman rebuild the humanity that he had lost.
If the first act of the musical is bitter and ironic to an almost unbearable degree (even the ensemble seems to be angry at Frank for frittering away his potential), it’s the second act that creates a shift into poignancy, reminding us of exactly what that potential was. These are the early years when Frank, Charley, and (to a lesser extent) Mary are genuinely enjoying their lives, despite the desperation they sometimes feel over their lack of success. You see the excitement, the joy, the promise in these sequences, and it becomes even more painful to remember where these characters are all going to end up. Credit goes to Scott Ford, who is able to manage the tone of the show skillfully and find humor that takes the edge off the bleaker moments in the show. The supporting cast should also get their flowers, such as Emily Grodzik and Faith Winship Smith, who play the women Frank marries over the course of the play and Steven Ramirez as the producer who truly believes in Frank’s talent even if his advice is what ultimately drives Frank towards the world of crass commercialism. They’re also helped by a wonderful chorus of performers playing multiple ensemble roles.
Merrily We Roll Along tells the sort of story that makes you want to re-examine your own life and think about friendships that may have fallen by the wayside. It reminds you that those human connections are the things that really matter. No matter how much ambition or success you have, if you don’t have people who you can share it with, what’s the point?
MERRILY WE ROLL ALONG plays at Lyric Arts in Anoka through October 4th.
Waiting for Godot by Samuel Beckett is one of the quintessential pieces of absurdist theatre, a genre I’m not typically all that fond of. In the wrong hands, absurdist and surrealist humor can come across as opaque and self-indulgent without having much to say. Thankfully, due to the strong directorial hand of Joseph Haj and lively performances of David Strathairn, Jimmy Kieffer, Will Sturdivant, and Jim Lichtscheidl, the Guthrie’s production makes the classic tragicomedy not just entertaining but also accessible – this is one of the funniest plays about despair you’re likely to see.
By now, the basics of the story of Godot are fairly well known – two down-on-their-luck tramps, Estragon (Kieffer) and Vladimir (Strathairn), meet up to sit by a tree on a roadside and wait for the arrival of Godot, a man they’re convinced will change their fortunes. Why and how he’s going to do so, precisely when he’s going to arrive, or even exactly who he is are unknown to them, but they wait nonetheless. As they wait they make conversation – or have arguments, really. Vladimir is more chatty which sometimes annoys the more stoic Estragon. Memories, tight boots, carrots, turnips, and any number of other topics weave in and out of the conversation, but it always comes back to the topic of waiting for Godot. Why is he the one they’re waiting for? Because they have to wait for him. Why is he worth waiting for? Because they decided he is. If those non-answers seem frustrating to read, they’re even more so for Vladimir and Estragon to live, and on a number of occasions throughout the play’s runtime the two men muse on the possibility of suicide, perhaps by hanging themselves from the tree that’s been there all along. But, of course, suicide is far too easy a way out for characters in a situation like this, and when they can’t make that work they just have to wait some more.
This is my second experience with Godot – I previously saw the 2023 off-Broadway production starring Michael Shannon and Paul Sparks, and as much as I loved the performances the show still felt fairly opaque to me. Shannon and Sparks felt like they were deliberately playing contrasts, with Sparks playing Vladimir like a wounded puppy while Shannon’s Estragon was mostly deadpan and stoic. Here, Strathairn and Kieffer don’t seem so different – the humor and deadpan wit comes from both of them in equal measure, and as a result the show feels much more alive. Strathairn on TV and film often finds himself cast as forthright authority figures, and if that’s how you’re used to seeing him you may be shocked by how funny he is here. He and Kieffer (adding yet another classic comedic Guthrie performance to his resume, following his delightful work as Puck in A Midsummer Night’s Dream and Falstaff in The History Plays) play off each other beautifully, giving a real sense of connection between them. Even more energy comes from the arrival of Ponzo (Will Sturdivant) and Lucky (Jim Lichtscheidl), who arrive just in time to gloriously illustrate the (il)logical extreme of the two tramp’s discussions about men who are kept at the mercy of other men. Sturdivant just about steals the whole show with his flamboyant performance as the colorfully-coiffed, whip-wielding Ponzi who dominates the leashed Lucky while also seeming to share a strange sense of codependency with him… he’s constantly yelling for Lucky to do things for him, but we later see how that’s largely because he can’t actually do much of anything on his own. As Lucky, Lichtscheidl has a showcase monologue in Act 1 that somehow seems to cover every topic that anyone has ever discussed, and the verbal and physical dedication he brings to it goes from absurd and funny to almost frightening.
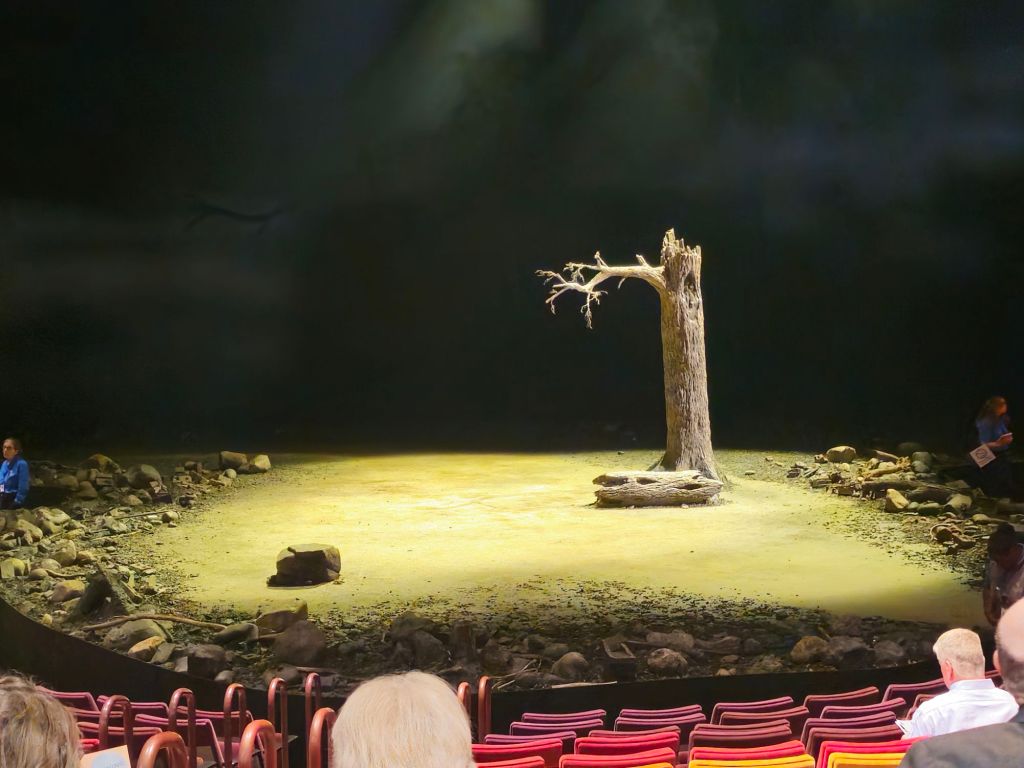
The set design by Marion Williams is stark but effective, as is Christopher Akerlind’s lighting. Both highlight the whole space of the Wurtele Thrust Stage that both showcases the emptiness of the characters’ lives and gives them plenty of room to engage in very funny sequences of physical comedy. Director Haj realizes that it is moments of humanity and humor like those that give the play life in spite of the bleakness at its center, but he also understands they wouldn’t come through if the performances were not believable. It’s a testament to his direction that he is able to keep the tone in a proper balance, largely by highlighting the humanity of the central characters. After all, Vladimir and Estragon aren’t just waiting for Godot, they’re waiting with each other. Whenever one of them begins to feel overwhelmed by the absurdity and hopelessness of the situation they’re in, it’s their connection to the other that gives them the motivation to keep on going. That’s both the tragedy and comedy of this tragicomedy – you might be spending what’s left of your life waiting for someone who will never come, but at least you’re not waiting alone.
WAITING FOR GODOT plays at the Wurtele Thrust Stage at the Guthrie Theatre through October 11th.
Lend Me a Tenor is such a perfectly executed farce that it could practically serve as an object lesson. The script by Ken Ludwig has all of the classic ingredients – broad, archetypal characters, misunderstandings, schemes, the possibility that the whole thing could collapse at any given moment – and the direction from Patrick Spradlin is so tight and the pacing so relentless and breakneck that you hardly have time to breathe. Of course, you’ll also be laughing so hard along the way you might not be able to breathe anyway.
The setup, as is the case in so many farces, is simultaneously simply and complicated. An opera company in Ohio circa the 1930s is awaiting the arrival of Tito, the famed Italian tenor who they signed on to lead their production of Pagliacci. Nebbishy assistant Max (Nicholas Kory) is trying desperately to hold down the fort while awaiting the tardy tenor, keeping the director Saudners (Blake Lubinus) from blowing a gasket while also trying to impress his girlfriend (and Saunders’ daughter) Maggie (Sarah Larson). When Tito (Shane Keran) fjnally arrives with his tough-as-nails wife Maria (Shawna Sylvester), Max has come up with a scheme – he’ll drug Tito and volunteer to take his place (being an amateur Opera singer himself) and maybe finally impress Maggie enough so that she’ll agree to marry him.
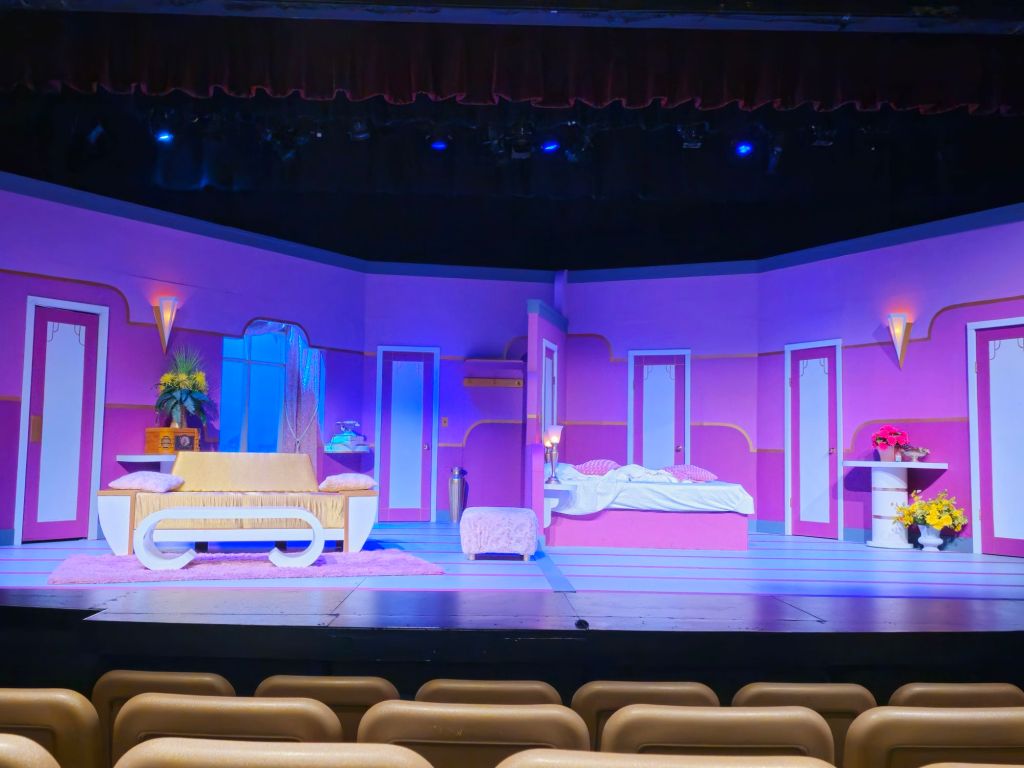
Of course, things never go according to plan in a comedy like this, and when it looks like this particular plan has gone wrong in a particularly disastrous way, everybody finds themselves rushing to try and manage the potential fallout. The construction of this plot is particularly fun because each character has their own unique agenda, and nobody can figure out why all their attempts to fix things run head-on into each other. Not just Max, Saunders, Maggie, and the rest, but also Diana (Rachel Kline), the opera’s costar-cum-groupie who is desperate to get into Tito’s pants, a bellhop (James Erfurth) seemingly more interested in meeting the opera star than doing his own job, and Julia (Barb McColgan) another leader of the opera company whose passion for opera is matched only by her passion for Tito. All of the members of the ensemble are bouncing back and forth within Tim Leagjeld’s single-location hotel suite set, with all the crashing doors and hiding places you’d expect. Indeed, while a lot of the individual story beats are kind of predictable for anyone who has seen their share of sex farces on stage, it’s all executed so perfectly that you keep laughing anyway. There’s a moment when two actors in identical clown costumes are on opposite sides of a door that blew me away because of how equally impressive it was as a stage image and sight gag.
The actors all embody their characters perfectly. I particularly appreciated how Shane Keran made Tito a star who, while temperamental and pretentious, was also perfectly nice and likeable. In a show where everybody is their own worst enemy, you don’t want anyone to actively root against. As Max, Nicholas Kory manages the tricky task of playing multiple layers of a man trying to prove himself while in disguise as a completely different person. Sarah Larson plays the part of the girlfriend who gets easily flustered and starstruck well, and her scene with Diana late in the play when they’re both convinced they just slept with Tito is a highlight. Shawna Sylvester doesn’t get as much to do, but she’s still a welcome presence as the much-bothered wife who still can’t help but love the big idiot.
Of course, everything ends up tied together by the end, and it culminates in probably the most unique curtain call I’ve ever seen – a full-on speedrun of the show. It makes you appreciate just how much energy and precision went into the show even more. It’s often hard to appreciate just how much work goes into making people laugh.
LEND ME A TENOR plays through September 12th at the Chalberg Theatre at Central Lakes College
Ever since my Dad first tricked me into trying some when I was a kid, Root Beer has held a special place in my heart. I’ve tried all the big brands (Barq’s, you can go screw yourself!) and explored the various local and niche brands, so I like to think I have a pretty good idea of what makes a good brew. And given I’ve already explored fermentation in various forms by making homemade hot sauce and mead, it was more or less inevitable that some day I’d try making the stuff myself.
As I so often do with things like this, I dove deep into online research, reading a half-dozen or so different recipes to figure out the different ways in which root beer can be made from scratch. I identified the necessary specialty ingredients (and where to find then) and the basic techniques. What I ended up discovering is that most of the recipes I found used similar overall methods, with the individual steps tending to vary in specific details recipe-to-recipe. So having made some practice batches in the past, and adding some inspiration of my own, I’m going to show you how my own root beer gets made.
Part 1: the Root of the Recipe
Root Beer starts, of course, with roots. Yes, literal roots. Indigenous tribes in North America have been using dried roots and other plants, herbs, etc. for medicinal and culinary use forever, and most historical accounts seem to believe the origin of root beer came from European settlers and colonizers combining these Indigenous ingredients with their own brewing traditions. In many ways, you could say that makes root beer the most American of beverages. But what roots do you use?
These can be found online in specialty stores or places like Etsy. Sassafras specifically, however, can be fairly expensive, so keep that in mind.
The basis of most recipes I’ve seen put three roots at the center: Sarsaparilla, Sassafrass, and Birch. Sarsaparilla is probably one most root beer aficionados are familiar with, and it brings a lot of the familiar aromas and flavors. Sassafras was traditional for a long time, but has been phased out of commercial recipes. Large companies can’t use it as a food product because the FDA has concerns about it being a potential health risk. But home brew setups and cottage food manufacturers like myself aren’t subject to the same regulation, so I’m going to use it for authenticity’s sake. My recipe calls for half a cup each of Sarsaparilla, Sassafrass, and birch.
In addition to the roots, there are other herbs and spices that can be added to enhance the root beer flavor base. For herbs, I use two different kinds of mint: Chocolate Mint and spearmint (sometimes I use wintergreen as well, depending on what I have available to me), one tablespoon of each. I’m also going to add to that some spices: Allspice, cloves, nutmeg (specifically calabash nutmeg, which is my preferred variety) and a cinnamon stick. These warming spices are a flavor profile I always enjoy, and they are often used in root beer. Finally, I have two vanilla beans for added depth and flavor
One you have your flavorings picked out, it’s time to make your flavor base. Add the ingredients to a pot with a gallon of spring water, bring to a boil, then reduce to a simmer. How long you cook this is up to you – recipes I’ve seen can vary from as little as 10 minutes to as long as 30. I have quite a few ingredients in the mix here, so I’m going to go with a 30-minute simmer to try and maximize flavor extraction.
Double, double, toil and trouble, fire burn and cauldron bubble…
30 minutes of cooking later, and let me tell you… it definitely smells like root beer! At this point what we essentially have is root beer tea, and like any good tea we’re going to let it sit and steep for a while. 1 to 2 hours or so off the heat will allow the flavors to better infuse. Meanwhile, we’ll use that time to consider our sweeteners.
Part 2: Sweet and Lowdown
There are a wide variety of sweeteners that can be used for root beer. Commercial brands use high fructose corn syrup, of course, or there are slightly higher-end brands that use cane sugar. Most of the recipes that I’ve found call for two types of sweeteners – a solid sugar like granulated or brown sugar, and a liquid sweetener, usually molasses.
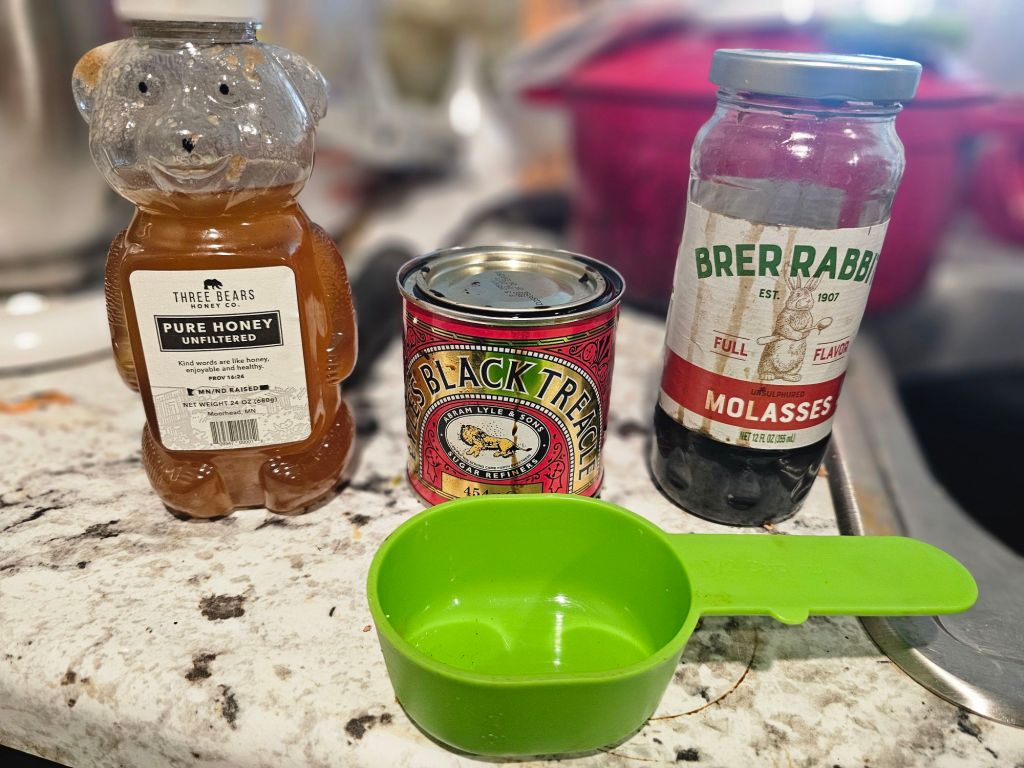
Here is where I break from tradition a bit. The first time I tried making root beer I used brown sugar and molasses. It tasted good, but ended up being too molasses-forward for my palate. So I’ve tried to find replacements that can do what molasses does in terms of color and sweetening but with a less dominant flavor. I ended up going with a combination. I’m using a little bit of molasses for color and tradition’s sake, but I’m combining that with treacle (often used in English cooking; it has a similar color and texture to molasses but is sweeter) and honey. The amounts I’m using aren’t measured exactly, but for a total of 1/2 cup of liquid sweetener I’m going with approximately one part molasses to one part treacle to two parts honey.
Once the liquid has finished steeping, I’m going to strain it though a mesh sieve and cheesecloth into another pot. Then I stir in 1 1/2 cups of brown sugar as well as the other sweeteners. Once everything is fully dissolved and incorporated it’s time to break out the thermometer, because we have to make sure the liquid is the right temperature before it is time for the bubbly.
Part 3: Carbonation Station
Like most of the other steps, there are a number of ways to add carbonation to your root beer. You could use a Sodastream or other compressed CO2 if you wish, but I prefer something a bit more natural. In those instances, you can go with yeast or a ginger bug.
Yeast, of course, comes in many different varieties for many different uses. I tend to keep yeast optimized for mead in my fridge at most times, but for root beer the ideal yeast is supposedly ale yeast. Now, this does mean the resulting beverage will have some alcohol in it. But due to the small amount used it’s going to be marginal – a kombucha or even a sandwich made on sourdough will probably have a similar alcohol content. But even then there are other options, like a ginger bug.
This is my ginger bug. Her name is Mary Ann.
A ginger bug is made from a process virtually identical to making a sourdough starter. You start with filtered or spring water, then add chopped fresh ginger root and sugar. You then feed it ginger and sugar every day until you can see the bubbling begin. Lots of recipes for ginger bug I’ve found online call specifically for the use of organic ginger, so that’s typically what I use, but I honestly can’t say run-of-the-mill ginger root wouldn’t work just as well. My personal touch is rather than using straight sugar to feed it, I alternate normal granulated sugar with turbinado sugar, a less refined sugar often used in Caribbean or West African cooking.
For my root beer, I’m going to use a combination of my ginger bug and a small amount of ale yeast. I’m using about 1/2 cup of the former and just a pinch – probably less than 1/8 tsp – of the latter. But you have to be careful to not add it too early… if the liquid is warmer than 80 degrees Fahrenheit it’s likely to kill the yeast before it can do its work. I typically wait until the temperature is between 75 and 80. Now it’s time to bottle.
Part 3: Bottle it up, but don’t explode!
We don’t mess around with carbonation in this house.
You can store this is any number of containers – I’ve used mason jars in the past – but for the true root beer experience you want a glass bottle. You can buy flip-top bottles that can be reused, and those are also very useful for testing (more on that later), but since I’m selling this stuff, I’m going to use fully sealed glass bottles.
Make sure you use clean bottles, obviously.
Once the carbonation agent(s) have been thoroughly mixed, it’s best to use a funnel and cheesecloth filter to fill in the bottles. But not too full! There’s going to be a lot of carbonation building up during the fermentation process, and you don’t want to risk the bottles exploding. So make sure there’s at least once inch of space near the top before you seal it.
You can use flip-top bottles, or this scary-looking device to seal glass bottles completely.
Now that the bottles have been filled and sealed, it’s time to ferment. This is where having a spare flip-top comes in handy. Any leftover root beer you have after filling in as many bottles as you can (this recipe makes about 9-10) can be put in a flip-top for testing purposes. Place all the bottles in a secure, room-temperature area for 2-3 days. At this time the yeast and/or bug will have done their work. Test it by flipping open a bottle and seeing how most carbonation has built up. If it’s to your liking, you can move the bottles to the fridge for chilling and to slow any further fermentation. Still, it’s not unusual for quite a bit of CO2 to build up over just a day or two, so be careful.
So yeah, that’s how I made my own root beer. And as I mentioned, it is for sale. Given this is a limited supply, made of high quality ingredients, I’m asking for $5 per bottle or 4 for $20. Based on supply, demand, and my own schedule, I’m going to continue to keep making this particular style of root beer, but that’s not where it ends – I have more recipes that I’m developing/experimenting with that I’ll be revealing soon, so stay tuned, friends and neighbors!
Please reach out to me if you are interested in buying some or ordering the next batch!
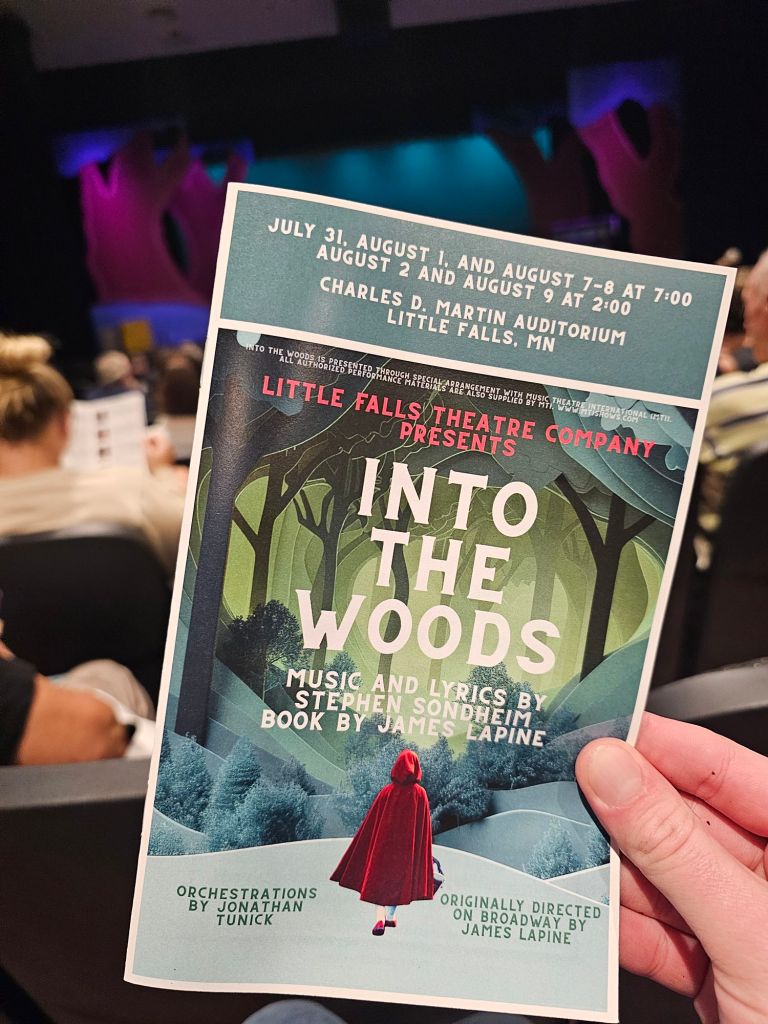
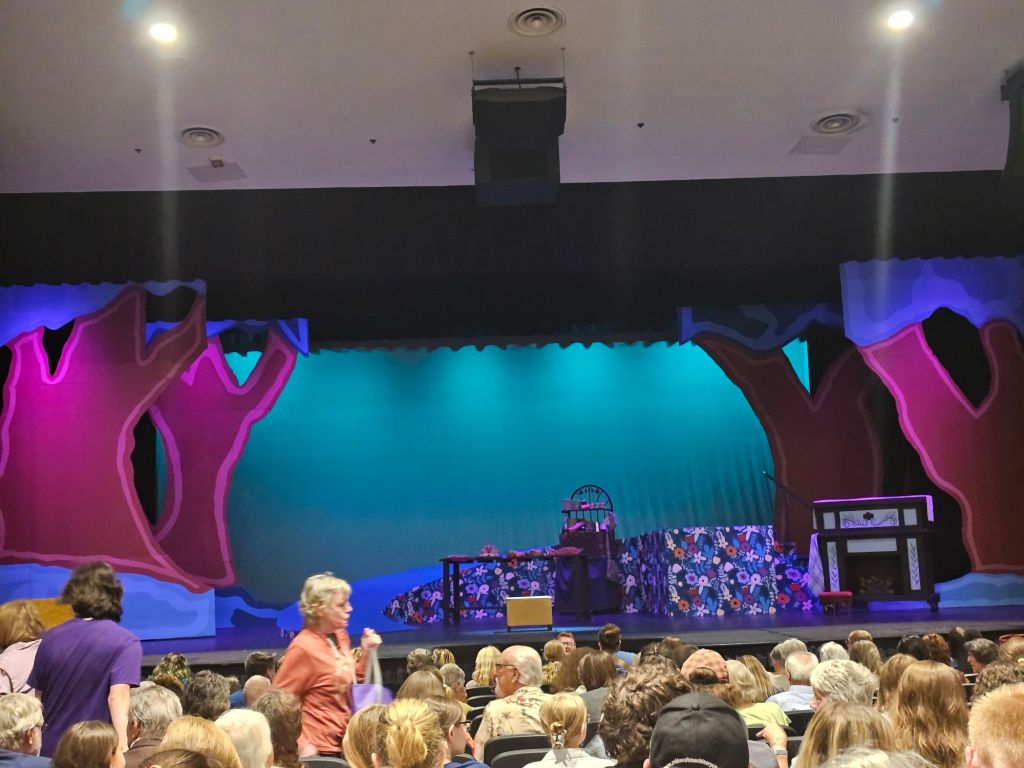
The Little Falls theatre community theatre’s production of Into the Woods shows that there’s still plenty of creativity to be found in this material. It’s probably my favorite musical of all time, and I’ve seen more than a half-dozen productions of it in different capacities. This production, directed by Emma Ahlin, shows a great deal of inspiration and imagination, even if the incredibly meticulous nature of the direction leaves some of the performances by the actors behind.
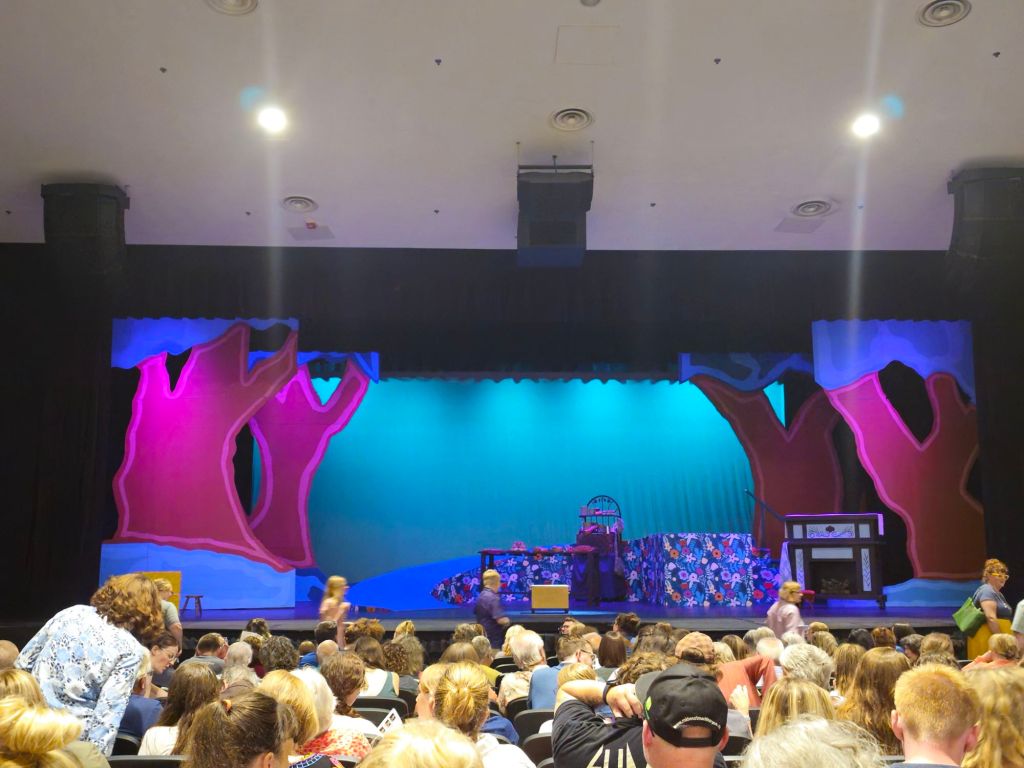
This take on Into the Woods seems to exist primarily within the imagination of a young girl. The set is bright and colorful, styled like a child’s bedroom. The Narrator (Nora Vedder) opens up her toy box as she begins to tell the story, with the performers representing the dolls she removes from it. This is a very inspired perspective – one I’ve never seen before. I wonder if the Baker and his Wife represent the Narrator’s parents – that adds an interesting twist to the standard doubling of roles where Vedder also plays the Mysterious Man. However, right away we also get an example of the direction getting in the way of the performers. Nora Vedder has a wonderful singing voice as showcased in “Ever After” and “No More”, but her line delivery elsewhere in the show is very rushed. I get the sense that she was focusing on getting her lines out so she could make it to the next movement in her blocking (the character also operates a lot of props, such as Cinderella’s birds). This robs the delivery of the emotion the dialogue deserves, especially in her scenes as the Mysterious Man.
This is something I noticed in many parts of the show – the blocking is so precise and deliberate that while often very imaginative, it also makes the show feel less spontaneous, less lively. Compare this to the production I saw in Pequot Lakes a few weeks ago – that one had technical issues and was less formally ambitious, but the actors were truly bringing their own energy and imagination to the performances. The actors in this production are undeniably skilled, but with a few exceptions they seem more like… well… playthings than performers.
The actors who stood out to me the most were Abby Shnobrich (who also serves as Production Manager) as The Witch, Janna Idzerda as The Baker’s Wife, and Derik Wright & Eric Kalkbrenner as an uncharacteristically (and delightfully) dorky pair of Princes. All of these performers are able to find new life in their roles and don’t feel as if they’re being rushed. I don’t know if it was inherent to how their scenes were written or if the staging was different, but if the rest of the casts’ performances were allowed to slow down and breathe in the same way, we could have had the whole cast find ways to give performances that are as individually inspired as Ahlin’s overall directorial vision.
It may feel like I’m being overly critical, but it’s not often that I feel so aware of the mechanics of a show’s direction. Maybe it’s because I’m so familiar with Into the Woods as a property, or maybe it’s because the individual pieces are so good. Technically, the show was impeccable (a few mic issues in Act 2 aside). The set and lighting are beautifully done and there always seem to be new surprises popping in how the show is being staged. The blocking and choreography are well done (the exception being “First Midnight” which mostly consists of people walking rapidly back and forth across the stage) and the songs are all sung wonderfully. There’s no denying that this made me think harder about the show more than just about any other version I’ve seen, and even if I had some issues here and there, there’s undeniably value to that.
I stand by my belief that any production of Into the Woods is going to be worth going to, and despite my quibbles, the sheer creativity on display here absolutely makes this one worthy of anybody’s time.
INTO THE WOODS plays at Charles D. Martin Auditorium in Little Falls High School through August 9th.
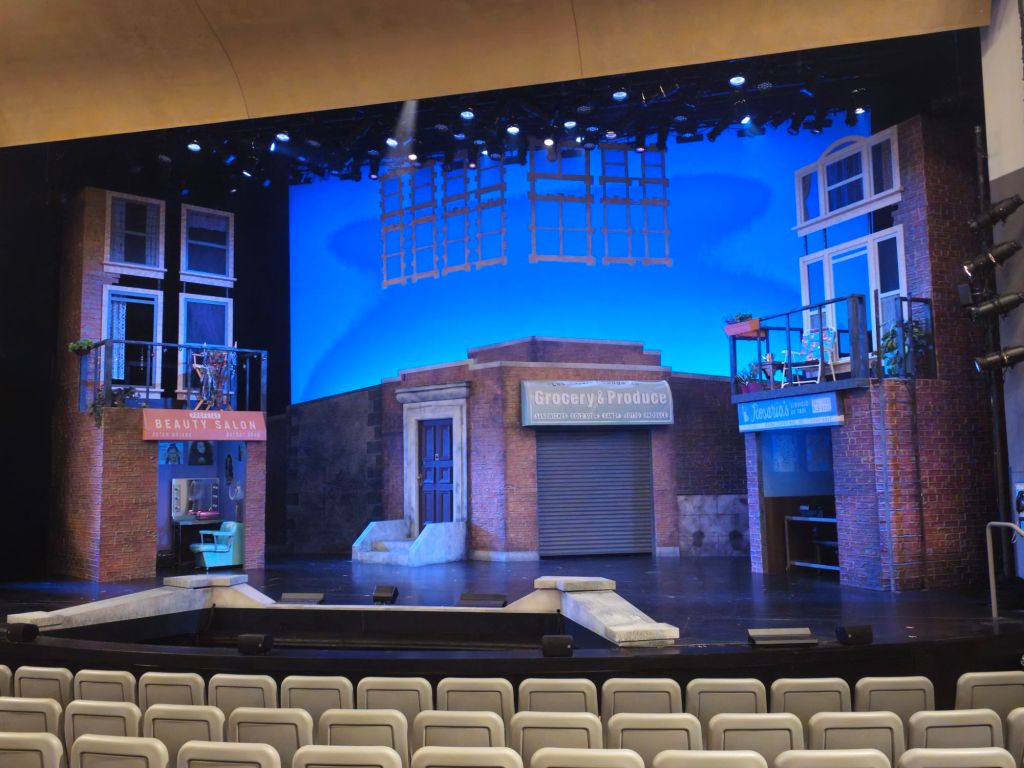
Theatre is about telling stories, music is about capturing emotion, and art is about representing life. Artistry MN has accomplished all of that with their new production of In the Heights. Director Maija García’s production of Lin Manuel Miranda’s musical about a few days in the life of a Washington Heights community embodies the joy and struggle of everyday life. It’s about when it is time to move on and why it’s sometimes important to stick it out. More than anything, it’s a celebration of all who are able to keep living their lives in the face of setbacks, and learning from the ones you face along the way.
We see through the show’s runtime a collage of different stories representing the various people who live in the Hispanic neighborhood. Most everybody is facing hardship of some sort – financial, romantic, professional, personal – and everybody seems to be in each others’ business. Usnavi (Andrés-Román Wood) runs the local bodega and serves as our narrator. Everybody can tell he’s in love with Vanessa (Janely Rodriguez), but he’s terrified of making the first move. Benny (Chris Owuso) is ambitious but stuck in a job at the local taxi dispatch. He’s never quite been able to earn the respect of his boss Kevin (Pedro R. Bayón), a situation complicated by the fact that he has feelings for Kevin’s daughter Nina (Raquel Ponce), who just returned from California and is terrified to admit she had to drop out of Stanford. There’s also Claudia (Jen Santoro Rotty) who’s lived there forever and has served as the honorary Abuela to everyone in the neighborhood. What makes a show like In the Heights so distinct is that all of these characters and more feel like real people with real problems and real dreams. Much like Come From Away (soon ending its run at the Guthrie) everyone in this show feels like somebody you could encounter on the street, and they’ve been written, directed, and performed by people who fully understand their sort of life. It’s a show that feels universal in its specificity.
The word that comes to mind when I think of this production is vibrant. This is a colorful, energetic, exciting production where even the lowest points of the story feel full of life. This is thanks in large part to director García and choreographer Abby Magalee, both of whom do exceptionally good work. Magalee’s choreography especially is a highlight, with the cast breaking out some incredible dance moves that we know were meticulously planned out but nonetheless feel spontaneous. There’s always something going on in Eli Sherlock’s single-location set, reminding us that no matter what happens with our protagonists, life still goes on with everybody else. Then there are the moments when the entire neighborhood becomes engaged, like when Usnavi realizes he’s sold a winning lottery ticket and everybody starts to dream about what they would do with the $96,000 prize. The entire show, beginning to end, feels like we’ve been welcomed in to these people’s lives, to the point where when there’s a death, we grieve the deceased alongside everybody else.
The attention to detail, the sensitively managed performances, the emotional truth, all of these show that In the Heights has come from a team that truly loves that they have been given the opportunity to share this story with us, and for good reason. At a time when the Hispanic population is being targeted and demonized, works of art like In the Heights remind us that these people are just fighting to live their lives, and their willingness to do that is exactly what makes their lives worth fighting for. In what has been overall an incredibly strong year for musical theatre productions in the Twin Cities, In the Heights is one of the very best.
IN THE HEIGHTS plays at the Bloomington Center for the Arts through August 23rd
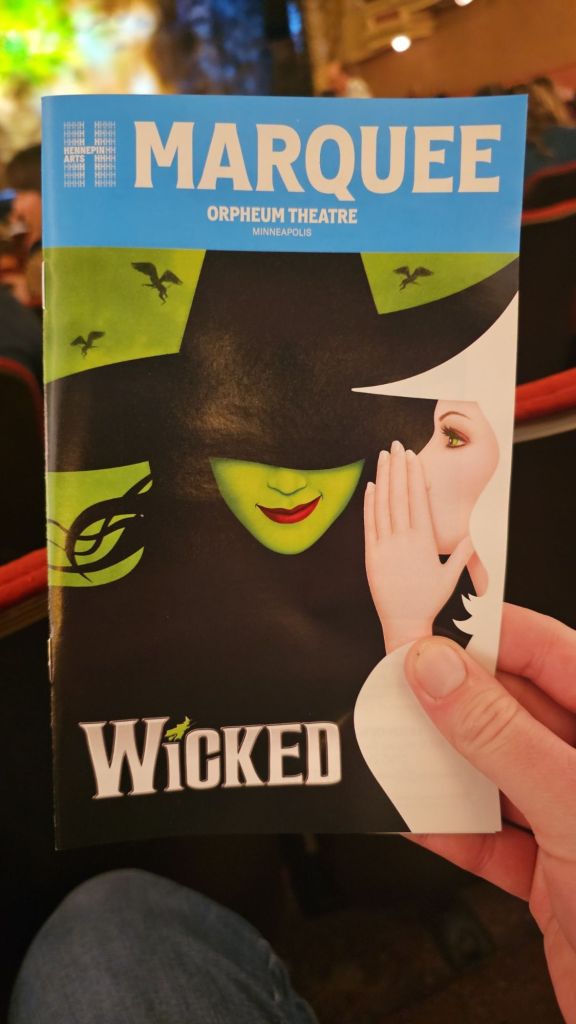
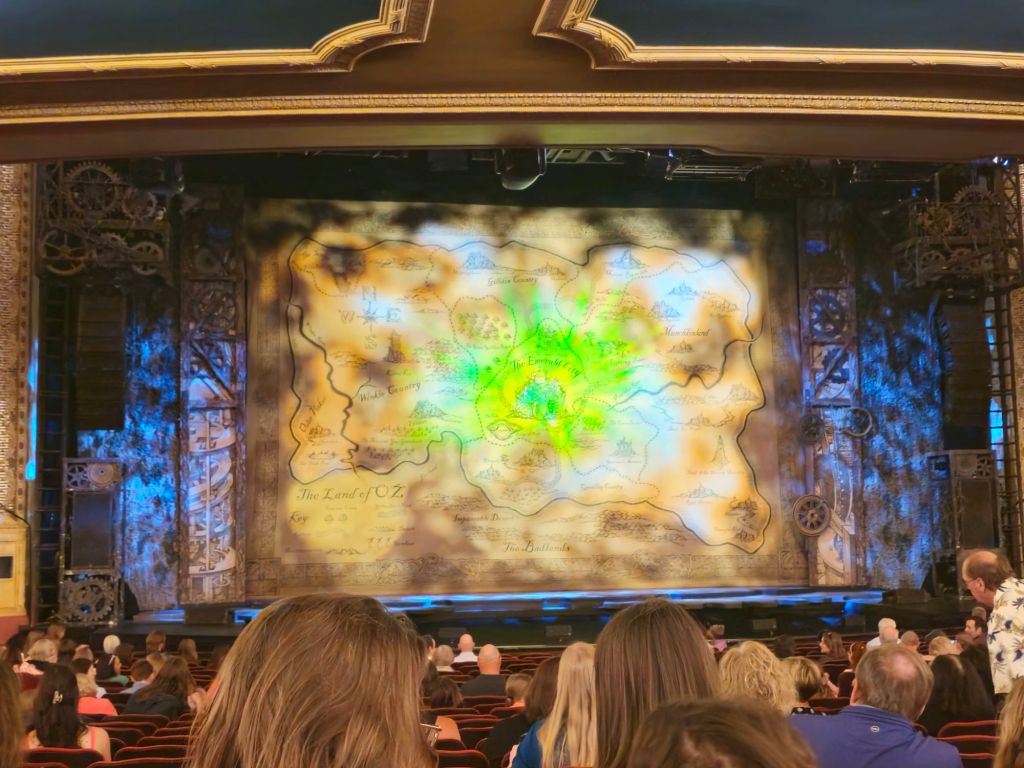
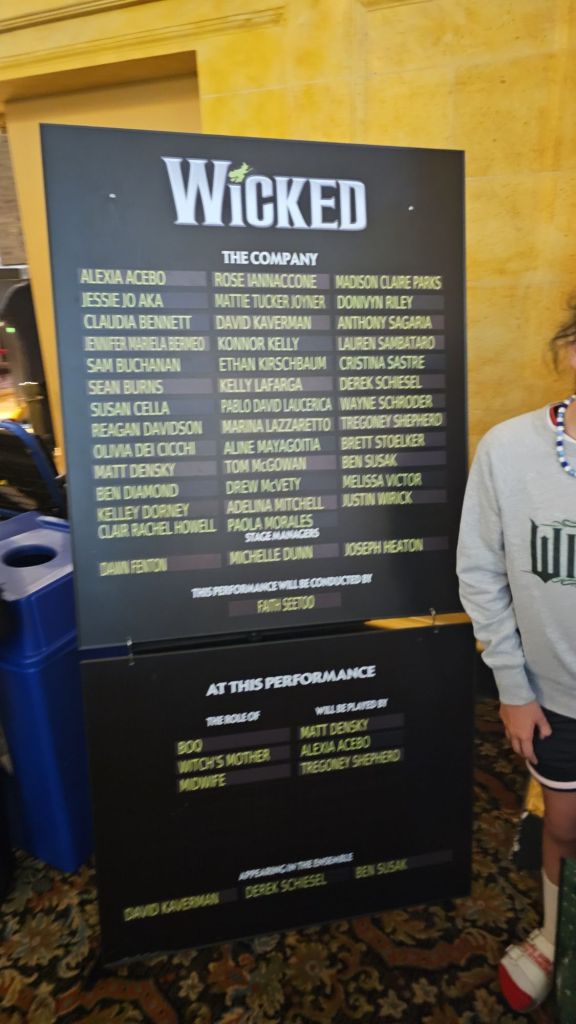
It seems weird that it took until now for me to finally see Wicked live. I was generally aware of the musical’s premise and performed a couple of the songs in high school band, but it wasn’t until the film duology was released that I actually saw any of the show itself. Of course, the stage musical is a different beast compared to the movies and should be engaged with on its own level. Thankfully, the national tour of Wicked, currently playing at the Orpheum in Minneapolis makes that easy. This is what people want to see when they go see a Broadway musical.
A key part of the show’s success (something that some more modern shows miss) is that for all of the colorful spectacle, effects, and choreography, the performances from the actors are always front and center – often literally. In some lavish musicals there’s a risk that the performers may get swallowed up by the sheer size of the production, but not here. Both restraint on the part of the direction and the charisma of the actors makes it clear this is about the characters and what the events of the story means to them. There are many numbers where it’s just an actor on a mostly bare stage singing, and that’s all we need. This is especially true for the numbers involving Elphaba. Elphaba is played by Aline Mayagoitia (previously seen in the Broadway cast of Real Women Have Curves and on tour as Katherine Howard in Six) in a commanding performance. Her Elphaba makes is clear from the start she suffers no fools. Being the target of people’s fear and malice has made her a very angry person, and she’s not afraid to show it. It’s the sort of performance you can’t take your eyes off, no matter what else is happening on stage. She’s so good that the rest of the cast is overshadowed at times – there’s no question that this version of Wicked is Elphaba’s story through and through.
That’s not to say the rest of the cast is lackluster. Claudia Bennett is an absolutely hilarious Glinda, showing excellent skills at physical comedy and sweet chemistry with Mayagoitia and Ethan Kirschbaum’s Fiyero. As Boq, Pablo David Laucerica may be a bit too ineffectual for his own good… it’s not clear exactly how someone as sweet and smart as Nessarose (Cristina Sastre from the original Broadway cast of How to Dance in Ohio) became so attached to him. Tom McGowan plays the Wizard with an appropriate balance of charismatic and pathetic… someone who just kind of stumbled into power and became a tyrant almost by accident. The most truly malicious character in this production is Susan Cella’s Madame Morrible, who does most of the heavy lifting when it comes to manipulating and exploiting people. It’s probably telling that Glinda having Morrible arrested gets a bigger reaction than when she runs off the Wizard.
The production itself is slick and full of energy – there’s not a single lag in its pacing. There’s inventive choreography throughout, especially in the early numbers like “What is this Feeling” that help to vividly portray Elphaba’s isolation from her classmates. I did have difficulty distinguishing the lyrics in the larger ensemble songs, which is not an issue I typically have. Thankfully, there are only a handful of ensemble-driven songs with most of the rest led by one or two of the main cast members. Lyrical clarity aside, the ensemble is doing strong work here, helping create a fully realized Oz for the characters to inhabit – credit especially should go to the performers who play the monkeys, who pull off some truly remarkable physical and acrobatic feats.
Having finally seen it on stage, it’s easy to see why Wicked became such a cultural phenomenon. This is a show that dazzles and excites the audience, built around performances that can instantly turn actors into stars. You’re never going to bring them down.
WICKED plays at the Orpheum Theatre in Minneapolis through August 8th.
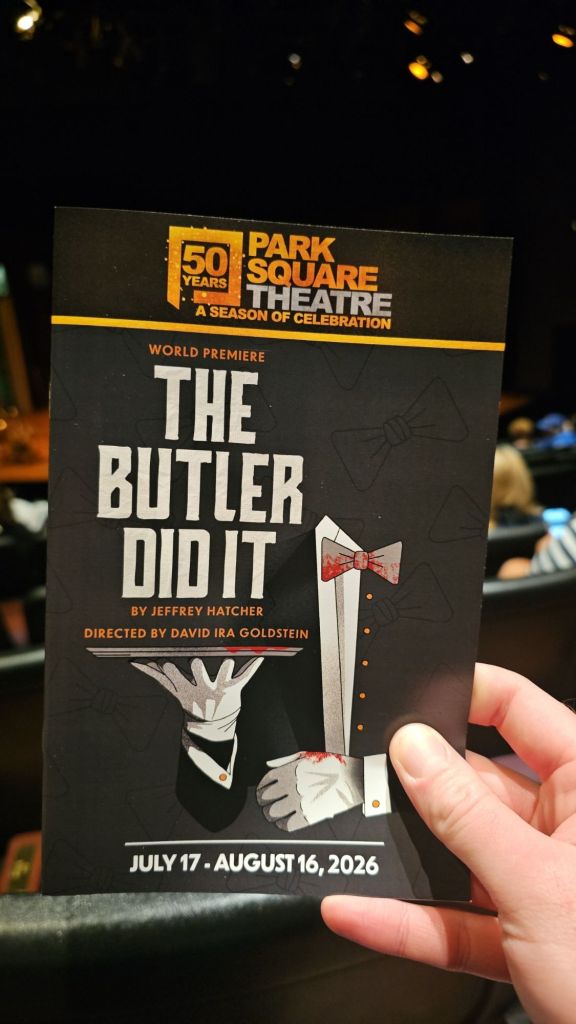
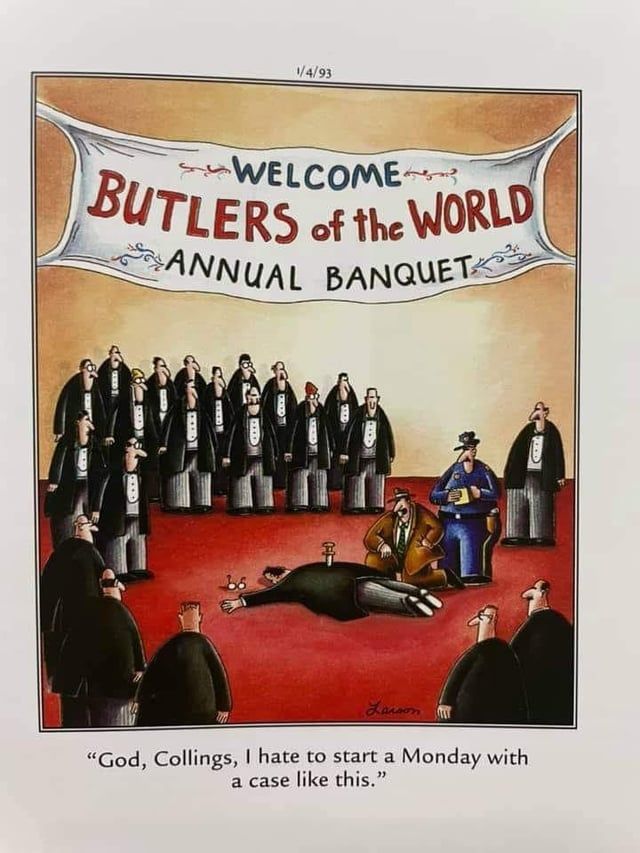
“The butler did it” is one of those turns of phrase that has existed as a cliché for so long that it’s impossible to think of a context in which it could be used seriously. Jeffrey Hatcher’s new play The Butler Did It, having its world premiere at Park Square Theatre in St. Paul, is indeed a thriller where the butler did it, but that is only the start of the story and it’s a story told with wit and energy to spare.
Basically the play’s set-up
The show is set in a San Francisco school for butlers run by Portman (Steve Hendrickson) a veteran butler who doesn’t much like to talk about his past. Also there are his second in command Merriman (Pearce Bunting) and their students, the overachieving Lane (Peter Christian Hansen), his girlfriend Emma (Anna Beth Baker) and the hapless Tony (Neal Beckman). A murder occurs on the night of Lane’s final exam, and the ensuing investigation reveals secrets about the school and those who attend that could threaten to ruin everything.
I’m going to do my best to avoid any specific plot details, as for a show like this seeing things unfold is half the fun. Suffice it to say, however, this is not a conventional whodunit. Jeffrey Hatcher’s author’s note mentions the story was originally conceived as an episode of Columbo, and it plays in much the way you’d expect from that – a murderer who thinks they’re smarter than everyone else commits what they believe is the perfect crime, then spends the rest of the show trying to ensure they get away with it, usually encountering and dispatching with an unexpected obstacle or two along the way. Hatcher and director David Ira Goldstein (long-time collaborators at Park Square, having last worked together on the brilliant Holmes/Poirot in 2024) know they’re working with well-worn tropes, but are also skilled enough to find ways to add additional twists, turns, and double-crosses even when we think we’ve figured out where things are going.
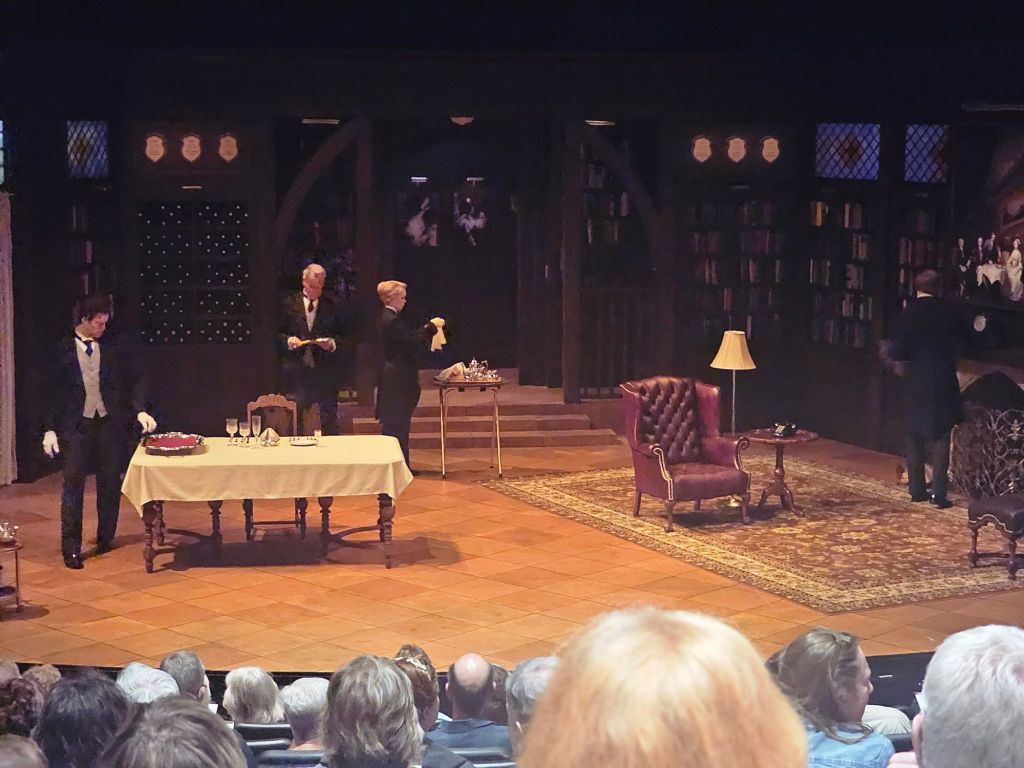
The cast spends the pre-show tidying up the set, as butlers are wont to do
Another similarity this play has with Columbo is in its detective character: Inspector Denise is an affable, enthusiastic sort whose friendly exterior hides a shrewd mind that is able to identify even the smallest inconsistency in a story. Allison Vincent plays the Inspector and she’s a total delight, positively vibrating with energy as the character embarks on her first case. There are plenty of laughs to be had in her interactions with the snooty butler school, but she never lets the culture clash get to her. She’s just there to do her job, after all but who says she can’t enjoy herself along the way? This is the first of five new plays Jeffrey Hatcher plans to write for Park Square, and while I don’t know if he has any more plans for Inspector Denise specifically, I certainly wouldn’t be opposed to seeing her on stage in further adventures.
The entire cast around Vincent is very well-balanced, with even the actors who only have one or two scenes making an impact. The set by Benjamin Olsen, a single room in a mansion, is well designed and decorated and filled with the sorts of little details and surprises you’d expect from a story like this. The script and performances are filled with little details, too – many of which come back and show their significance in unexpected ways. I’d love to come back and see it again Z I’m sure there are even more details that I missed. That’s the mark of a good thriller – even if it is working from conventional tropes, and even if you already know what is going to happen, there will always be a thrill that comes from witnessing it all come together.
THE BUTLER DID IT plays at Park Square Theatre through August 16th